


Table of Contents
Step 1: Selecting the Right Tree for Your Climate and Location
Considerations for Tree Selection:
- Climate Suitability: Research whether the tree can survive the temperature range and weather conditions of your region. Deciduous trees like maples and oaks thrive in temperate climates, while tropical trees like mangoes and palms require warm, humid conditions.
- Soil Requirements: Conduct a soil test to check pH levels, drainage, and nutrient content. Some trees, like pine and azaleas, prefer acidic soil, while others, like lilacs and ash trees, do well in alkaline or neutral soils.
- Available Space: Consider the tree’s mature height and root spread. Large trees should be planted away from buildings, underground utilities, and sidewalks to prevent structural damage.
- Purpose of the Tree: Decide whether you want a tree for shade, fruit production, ornamental beauty, windbreak, or erosion control. Different trees serve different functions in a landscape.
If you are unsure which tree to plant, opt for native species, as they adapt best to local conditions and require less maintenance than non-native trees.
Step 2: Choosing the Ideal Planting Location
Selecting the right location is critical for your tree’s growth and longevity. Here are some key factors to keep in mind:
- Sunlight Requirements: Some trees, such as fruit-bearing trees, need full sun (6-8 hours per day), while others, like dogwoods, prefer partial shade.
- Soil Drainage: Poorly drained areas can lead to root rot, while overly dry areas may require supplemental watering.
- Wind Exposure: Wind can dry out and damage young trees, so consider planting near natural windbreaks like hedges or fences if needed.
- Proximity to Buildings and Infrastructure: Ensure the tree is planted far enough from structures, power lines, and underground utilities to prevent damage as it grows.
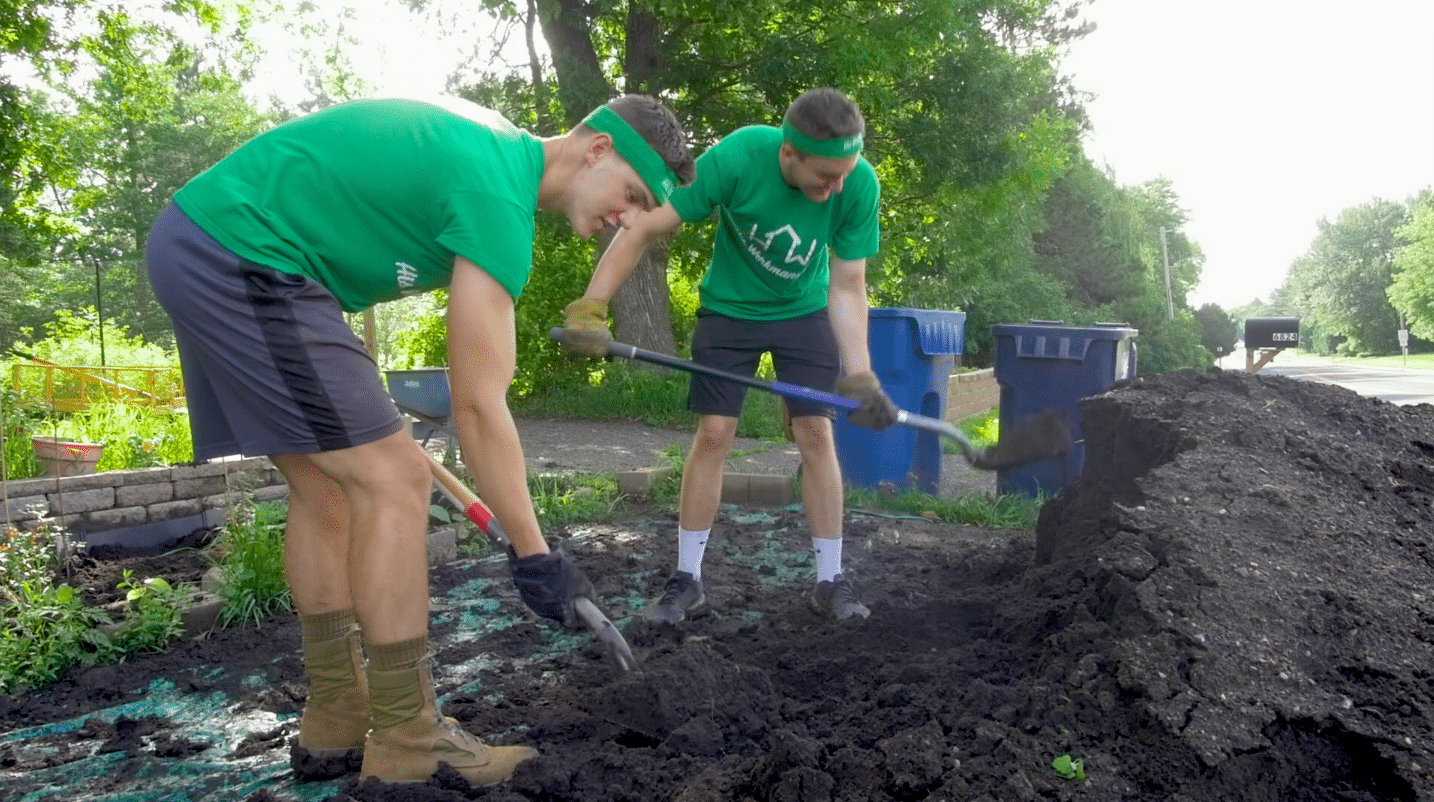
Step 3: Preparing the Soil for Planting
Healthy soil is essential for a thriving tree. Preparing the soil properly before planting ensures that roots can establish themselves easily. If you’d like to learn more about how to prepare your garden for winter and for summer then read our previous blogs Fall Cleanup Tips: Preparing Your Garden For Winter and 4 Tips For Preparing Your Garden For Spring.
Steps for Soil Preparation:
- Test the Soil: Use a soil testing kit to determine pH levels and nutrient content. Adjust the soil as needed with lime (to increase pH) or sulfur (to decrease pH).
- Improve Drainage and Aeration: If the soil is compacted, mix in organic matter like compost or peat moss to improve structure and drainage.
- Clear Weeds and Grass: Remove any competing vegetation within a 3-foot radius to prevent nutrient competition.
Step 4: Digging the Proper Planting Hole
Digging the right hole is critical for tree stability and root development. Follow these guidelines for proper hole preparation:
- Width: The hole should be two to three times wider than the tree’s root ball to allow roots to expand.
- Depth: The hole should be as deep as the root ball or slightly shallower to prevent the tree from sinking too deep over time.
- Break Up the Soil: Loosen the soil at the bottom and around the edges to encourage root penetration.
Step 5: Planting the Tree Correctly
Now that the hole is prepared, it’s time to position and plant the tree.
- Carefully Remove the Tree from Its Container: If the tree is potted, gently slide it out. If it’s balled and burlapped, remove any wrapping or string.
- Inspect the Roots: If the roots are circling the root ball, gently tease them apart to encourage outward growth.
- Position the Tree in the Hole: Ensure the root flare (where the trunk starts to widen) is at or slightly above ground level.
- Backfill with Original Soil: Fill the hole with the excavated soil, pressing it down lightly to remove air pockets. Avoid compacting the soil too much, as this can hinder root expansion.
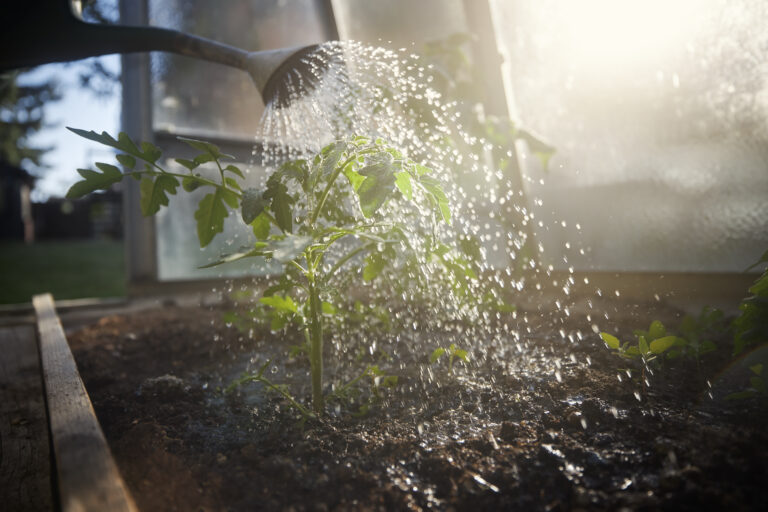
Step 6: Watering and Mulching for Optimal Growth
Watering Guidelines:
- Immediately after planting, water deeply to help the soil settle and establish good root contact.
- During the first year, water the tree once or twice a week, depending on rainfall and soil moisture levels.
- Use a slow, deep-watering method to encourage deep root growth rather than shallow roots.
Applying Mulch:
Mulch helps regulate soil temperature, retain moisture, and reduce weed competition. Follow these mulching tips:
- Spread a 2-4 inch layer of organic mulch around the tree’s base.
- Keep mulch a few inches away from the trunk to prevent rot and pests.
Step 7: Staking and Providing Additional Support (If Needed)
Some young trees, particularly those in windy areas or with weak trunks, may need staking for support.
- Use soft, flexible ties to prevent damage to the bark.
- Stakes should be removed after 6-12 months once the tree is stable.
Step 8: Ongoing Care and Maintenance
Proper care in the first few years is essential for a tree’s long-term success. Here are some maintenance tips:
- Pruning: Trim dead, diseased, or broken branches to promote healthy growth and shape the tree. Avoid heavy pruning during the first year.
- Fertilization: Only fertilize if the soil lacks essential nutrients. Use slow-release or organic fertilizers in early spring or fall.
- Pest and Disease Management: Regularly check for signs of pests or fungal infections and apply appropriate organic treatments if needed.
- Winter Protection: In colder regions, wrap young trees in burlap or apply extra mulch around the base to protect roots from freezing.