


Table of Contents
1. Choose and Clear the Garden Area
The first step is choosing the right location. Look for an area with good drainage and ample sunlight—ideally 6 to 8 hours of direct light daily. Avoid low-lying spots that tend to stay soggy or shaded corners where plants might struggle to photosynthesize.
Once you’ve picked your spot, clear the area thoroughly. Use a spade, hoe, or weed trimmer to remove grass, weeds, old mulch, and rocks. A weed barrier or sheet mulching technique can also be used to suppress regrowth before tilling.
Pro Tip: Mark off your garden beds with string or stakes to keep your layout neat and organized before digging.
2. Test Your Soil
Many gardeners skip this step—but testing your soil can save you months of guesswork. A proper soil test will tell you:
Soil pH (acidity or alkalinity)
Nutrient levels (nitrogen, phosphorus, potassium)
Soil texture (clay, loam, sand)
Use a DIY soil test kit from a garden center or contact your local extension office for a professional lab analysis. Knowing the baseline of your soil allows you to tailor your amendments more precisely.
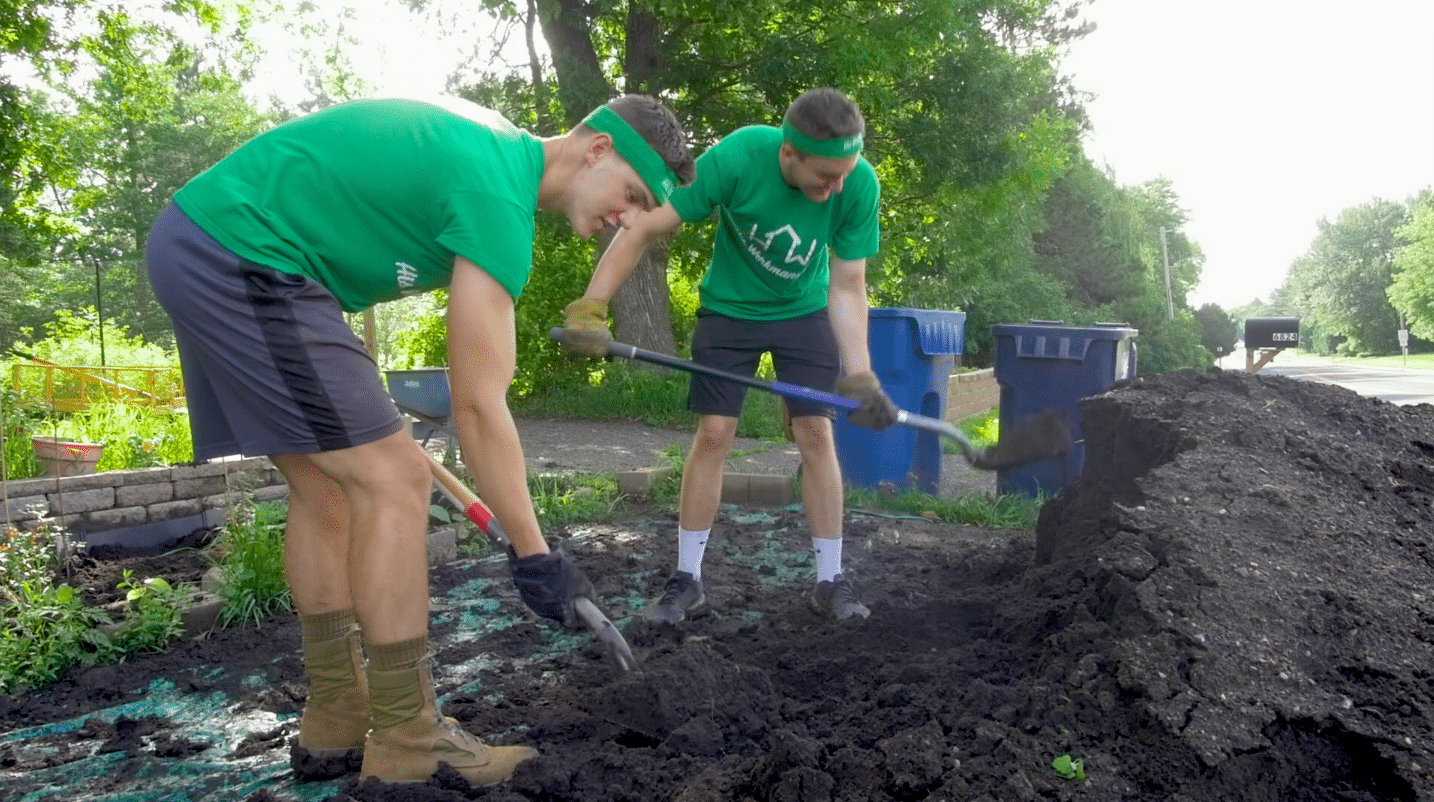
3. Loosen the Soil (Tilling or Digging)
Next, use a garden fork, spade, or rototiller to break up the soil to a depth of 8–12 inches. Loosening compacted soil helps:
Roots to penetrate deeper
Water and air to move freely
Soil organisms to thrive
Avoid over-tilling, which can disrupt the natural structure of the soil. If your soil is very compacted or clay-heavy, consider double digging or using cover crops (green manure) over time to improve structure.
4. Remove Weeds, Debris & Old Roots
5. Add Organic Matter
This is where the real transformation begins. Add generous amounts of compost, well-rotted manure, leaf mold, or peat moss to enrich the soil.
Compost improves structure, drainage, and fertility.
Manure adds essential nutrients like nitrogen and phosphorus.
Leaf mold enhances water retention and microbial life.
Spread 2–4 inches of organic matter and incorporate it into the topsoil using a shovel or fork.
Bonus Tip: Apply mulch after planting to help retain moisture and prevent new weed growth.
6. Adjust Soil pH and Add Nutrients
Your soil test will indicate whether your pH needs adjusting:
If soil is too acidic (low pH): Add lime (calcium carbonate)
If soil is too alkaline (high pH): Add elemental sulfur or peat moss
For nutrients:
Nitrogen encourages leafy growth – use blood meal or fish emulsion.
Phosphorus supports strong roots – bone meal is a great option.
Potassium helps overall plant health – wood ash or greensand can help.
Apply amendments as directed and mix well. Avoid over-fertilizing, especially with synthetic products, as it can harm beneficial microbes.
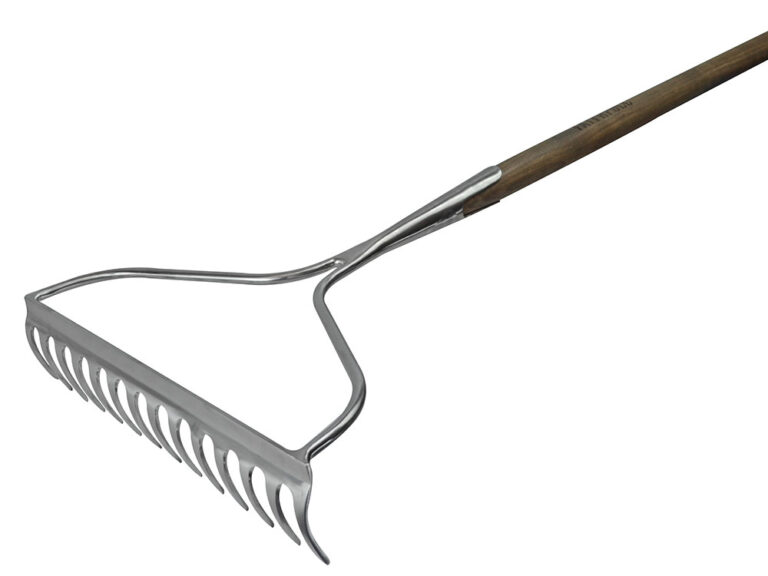
7. Rake and Level the Surface
Use a bow rake to level the soil surface. This ensures:
Water distributes evenly across your beds
Seeds are planted at a consistent depth
Planting rows or patterns are easy to follow
If you’re using raised beds, double-check your soil depth and remove large clumps to create a fine, crumbly seedbed.
8. Let the Soil Settle or Water Thoroughly
If you’re not planting right away, let the soil rest for 1–2 weeks. This allows beneficial microorganisms to establish themselves, and the soil to naturally settle.
If planting immediately, give the bed a deep watering to help nutrients blend and compact the soil slightly. Avoid walking directly on your garden beds once they’re prepped—use planks or stepping stones to prevent soil compaction.
Seasonal Soil Care Tip:
Garden soil prep is more than just a spring task. Maintain healthy soil year-round with these seasonal guides: