


Table of Contents
Installing landscape fabric is an effective way to control weeds in your garden or landscape. It is the easiest and often the most effective method for fighting weeds. It helps weed seeds from germinating in the soil or from landing and taking root from above the soil. Landscape fabric is also “breathable”, meaning it lets water, air, and some nutrients down to the soil to feed the plants wanted to thrive. Here is a step by step guide on how to install landscape fabric for weed control:
Materials and Equipment Needed
- Garden Hoe
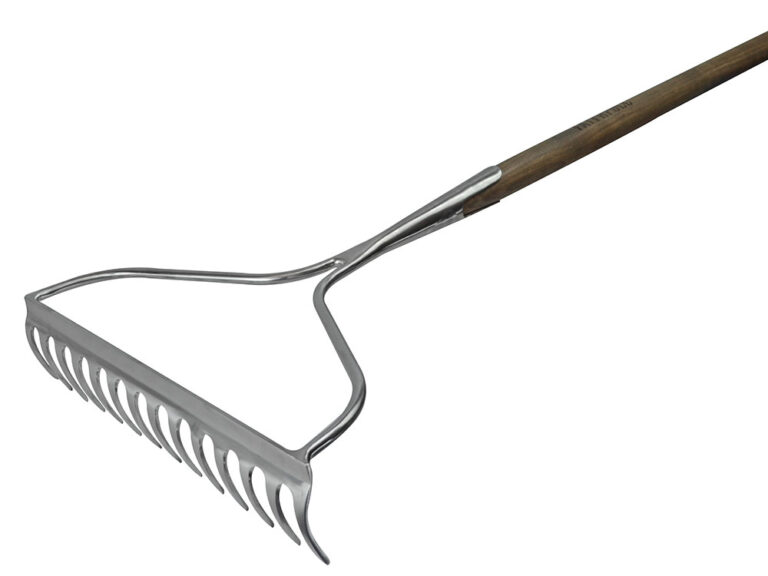
- Steel Rake
- Unity Knife
- Hammer
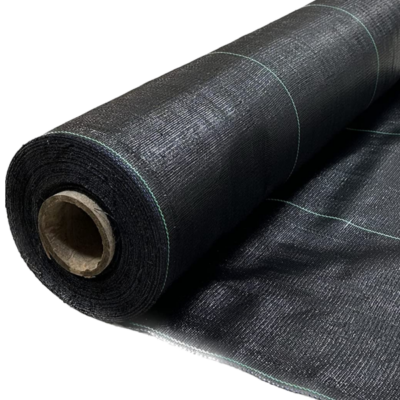
- Landscape Fabric
- Landscape Fabric Staples
- Plants (optional)
- Mulch or other Ground Cover (optional)
Steps
1) Prep the Area
Begin by thoroughly clearing the designated area of any existing vegetation, including grass, weeds, and unwanted plants. Use a shovel, hoe, or weed trimmer to cut and remove the vegetation at its base. Level the ground and address any noticeable bumps or depressions. A smooth and even surface allows for proper installation of the landscape fabric, ensuring uniform coverage and preventing potential complications. If you plan to plant directly into the soil beneath the landscape fabric, take this opportunity to amend the soil with organic matter, compost, or other appropriate soil conditioners.
2) Measure and Cut
Measure the area where you plan to install the landscape fabric using a measuring tape. Take accurate measurements of the length and width, accounting for any irregularities or curves in the landscape. Roll out the landscape fabric on a clean and flat surface, such as a driveway or walkway. Use the measurements you’ve taken to cut the fabric to the desired length. If your area is larger than the width of the fabric, you may need multiple pieces. Cut additional pieces accordingly, ensuring they overlap by at least 6 inches to prevent weed penetration between seams. Consider using a straightedge or a long board to guide your cutting line for cleaner or more precise edges. If your landscape design includes curves or intricate shapes, cut the fabric accordingly to match the contours of the planting beds or garden layout. As you cut the fabric, leave extra material around the edges to secure it properly. This overhand will be essential for securing the fabric with garden stakes or pins and preventing weeds from finding their way around the edges. It also provides a margin for adjustments during installation.
3) Position the Fabric
Unroll the landscape fabric over the prepared area systematically, starting from one end and working your way across. If the fabric has a specific side labeled as the top or with any instructions, ensure that it is facing upward to align with the intended orientation. While positioning the fabric, smooth out any wrinkles or folds to ensure a flat and even surface. This is essential for effective weed prevention and for maintaining a beautiful appearance in your garden or landscape. Pay attention to the fabric’s alignment with the borders of the designated area. Adjust the fabric to cover the entire space, reaching up to the edges of planting beds or any defined borders. Overlapping multiple pieces is common in larger areas; make sure to overlap seams by at least 6 inches to create a seamless barrier against weed penetration. Tuck the edges of the fabric under borders or edging, if present, to secure them in place. This helps prevent the fabric from shifting over time and maintains a tidy appearance.
4) Secure Edges
Once the landscape fabric is positioned, secure its edges to ensure it stays in place and provides effective weed control. Garden stakes or pins are commonly used for this purpose. Place garden stakes or pins at regular intervals along the edges of the landscape fabric. The spacing will depend on the size of your garden or landscape; generally, spacing them every 12 to 18 inches. Pay special attention to corners and curves where the fabric may be more susceptible to movement. Insert the stakes or pins through the fabric and into the underlying soil. Make sure they penetrate the ground securely to prevent the fabric from lifting or shifting. If the fabric extends beyond the borders, angle the stakes away from the center of the garden to enhance stability. Focus on reinforcing the seams where multiple pieces of fabric overlap. Install stakes or pins along the seams, maintaining the same spacing along the edges or also consider using landscape fabric staples, which are U-shaped metal stakes specifically designed for securing landscape fabric. These staples offer a secure and low-profile option for keeping the fabric in place, and they’re less likely to be tripped over or snagged during maintenance. Over time, as the landscape fabric settles and integrates with the soil, you may find it necessary to reposition or add additional stakes to maintain optimal coverage and weed control. Regular maintenance and monitoring contribute to the long-term success of the landscape fabric installation.
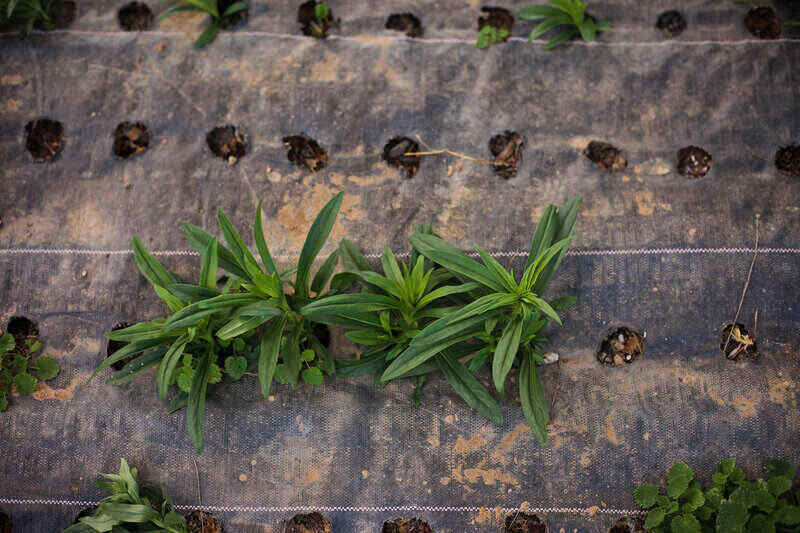
5) Cut Openings for Plants
Use a knife or scissors to cut X-shaped openings in the fabric where you want to plant. Fold back the flaps and plant directly into the soil beneath the fabric. This allows your plants to grow while still preventing weed growth. When creating openings, keep in mind the recommended spacing for each type of plant. Adequate spacing allows plants to receive sufficient sunlight, nutrients, and airflow. Tailor the size of the X-shaped openings to accommodate the specific needs of different plants in your garden. Larger openings may be necessary for shrubs or perennials with expansive root systems, while smaller openings work well for annuals or smaller ornamental plants.
6) Cover with Mulch or Stones
Cover the entire landscape fabric with a layer of mulch or decorative stones. This not only enhances the aesthetics but also helps anchor the fabric, provides insulation, and further suppresses weed growth. Choose a mulch type that suits the overall aesthetic of your garden while providing functional benefits. Organic mulches, such as wood chips or bark, break down over time, contributing to organic matter to the soil. Inorganic options like rubber mulch or decorative stones offer longer-lasting coverage and a distinctive visual appeal. Spread the chosen mulch evenly over the entire area covered by the landscape fabric. Aim for a consistent layer thickness of 2 to 4 inches. Uniform mulch application not only enhances visual appeal but also ensures effective weed suppression and insulation.
7) Water the Area
It is important to water the area thoroughly after installation. This helps the fabric settle into place and conform to the contours of the ground. When watering the area, employ a gentle and even watering technique to prevent displacement of the landscape fabric or erosion of the mulch layer. A soaker hose or a sprinkler set to a low intensity is ideal for evenly distributing water without disturbing the newly installed components. The water aids in establishing direct contact between the landscape fabric and the soil surface. This contact is essential for optimal weed prevention, as it minimizes gaps or air pockets where weed seeds could potentially germinate. Thorough watering promotes a close bond between the fabric and the underlying soil. Pay extra attention to the areas where you’ve created openings for planting. Newly planted vegetation may require additional water to establish their root systems. Ensure that the soil around plant bases remains consistently moist during the initial stages of plant establishment. Regular watering can contribute to preserving the original color and appearance of the mulch.
Installing landscape fabric correctly can significantly reduce weed growth, making your garden maintenance easier and more effective. Additionally, the fabric acts as a natural insulator, regulating soil temperature and fostering a more stable and conducive environment for plant roots, contributing to healthier and more robust plant growth. Read our most recent blog to get a glimpse on what pricing would look like to hire a project like this out.