Table of Contents
Transforming your outdoor space with landscape rock can create a beautiful and low-maintenance environment. Whether you’re looking to create decorative borders, pathways, or rock gardens, landscape rock offers durability and a range of design possibilities. Proper installation is essential to ensure that your landscape rock project is both aesthetically pleasing and long-lasting. This guide will walk you through the process, from initial preparation to the final touches, helping you achieve a professional finish.
1) Preparation
Proper preparation is the foundation of a successful landscape rock installation. This involves:
- Measuring the Area: Start by measuring the length and width of the area where you plan to spread the rocks. Multiply these numbers to get the total square footage. This calculation helps you determine the amount of landscape rock needed for the project.
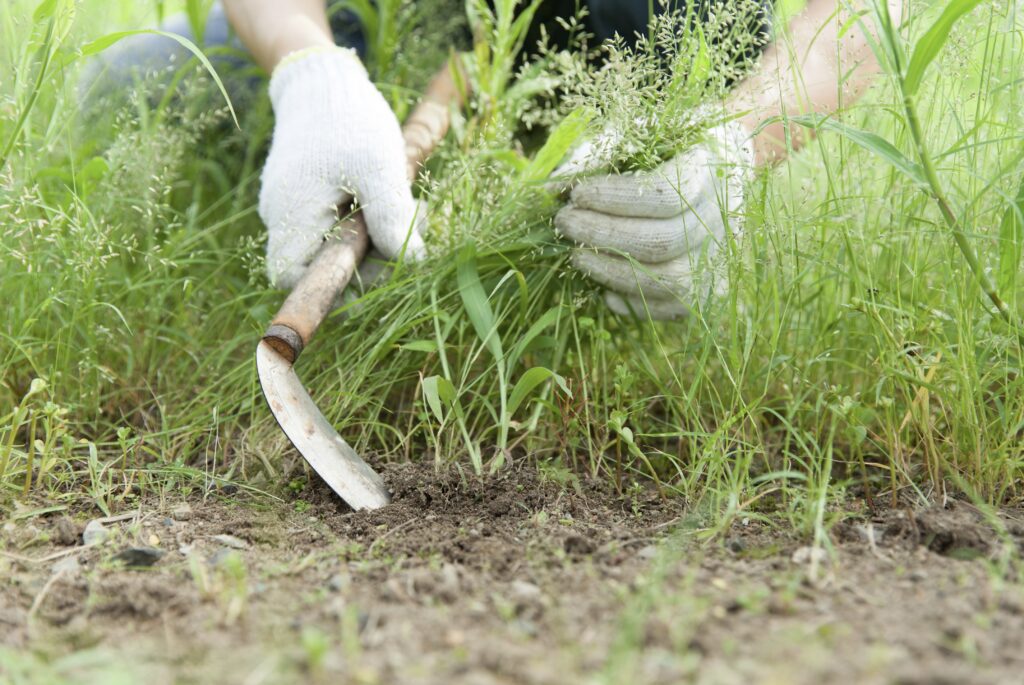
- Clearing the Area: Clear the designated area by removing any existing vegetation, roots, and debris. This ensures a clean, unobstructed surface for the rocks. Use a hoe or a spade to remove grass and weeds, and make sure to dig out any deep-rooted plants to prevent regrowth.

2) Ground Preparation
Properly preparing the ground will ensure the longevity and stability of your landscape rocks:
- Digging a Trench: A trench around the perimeter of the area where the landscape rocks will be placed helps contain the rocks and adds a neat boundary. The depth and width of the trench should correspond to the size of the rocks and the desired finished look of the project. For example, if you plan to use larger rocks, a wider and deeper trench is necessary to secure them in place effectively. Typically, a trench should be at least 3 inches deep.
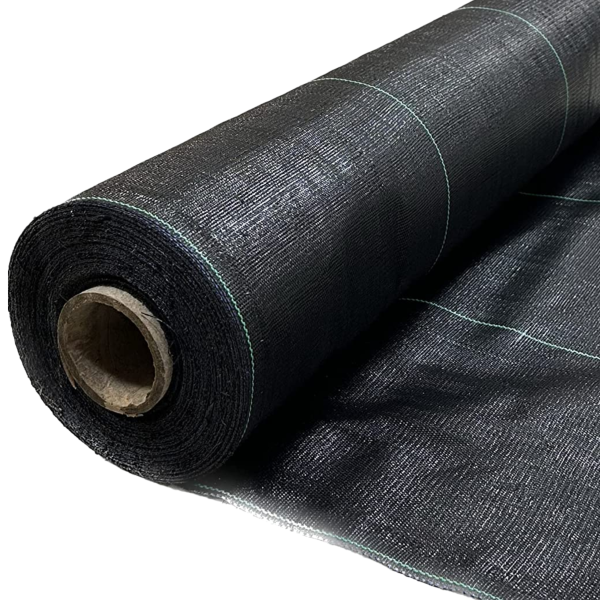
- Laying a Weed Barrier: Place a layer of landscape fabric or a biodegradable weed barrier over the compacted gravel. This helps prevent weeds from growing through the rocks, reducing maintenance over time. Secure the fabric with landscape pins or stakes to keep it in place. Overlap the edges of the fabric by a few inches to ensure complete coverage and prevent gaps where weeds could emerge.
- Adding a Base Layer: For larger rocks or areas with heavy foot traffic, lay a 4-5 inch layer of gravel over the compacted soil. This base layer improves drainage and provides a stable foundation. Spread the gravel evenly across the area and use the compactor again to press it down firmly. This ensures that the gravel is level and compacted, creating a sturdy base for the landscape rocks.

3) Laying the Rocks
With the ground properly prepared, you can now begin laying the landscape rocks. This step is crucial for achieving an even and durable finish:


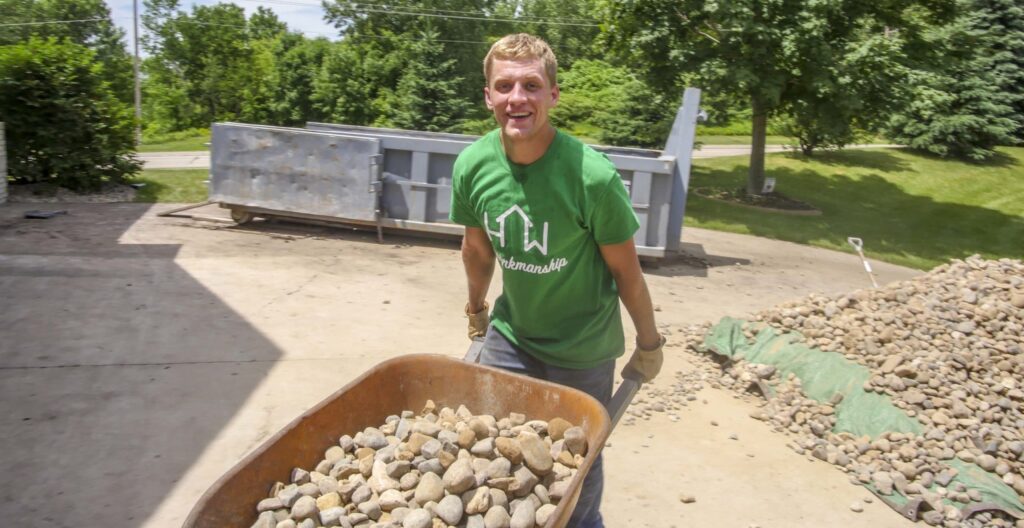
- Transporting the Rocks: Use a wheelbarrow to transport the rocks from their storage location to the installation site. Avoid overloading the wheelbarrow to make it easier to maneuver and prevent injury. For larger rocks, you may need additional help to lift and place them safely.
- Spreading Sand: Before placing the rocks, spread a thin layer of sand over the weed barrier. The sand helps to settle the rocks and provides additional stability. Use a rake to distribute the sand evenly across the surface.
- Placing the Rocks: Begin placing the rocks at one edge of the area and work your way across. If you are using rocks of different sizes, mix them as you go to create a natural look. For a more uniform appearance, place similar-sized rocks together. Use a rake to spread the rocks evenly, ensuring that they are distributed consistently across the area.
- Depth Considerations: The depth at which you lay the rocks depends on their size and the intended use of the area. For decorative purposes, a 2-4 inch depth is usually sufficient. This depth is enough to cover the ground while allowing for a stable surface. For pathways or areas with high foot traffic, a deeper layer of 6-8 inches is recommended. This depth provides added stability and helps prevent the rocks from shifting or sinking over time.
- Creating a Natural Look: To achieve a more natural appearance, avoid creating straight lines or patterns with the rocks. Instead, aim for a random placement that mimics the natural environment. You can also use a mix of rock sizes and colors to add visual interest and texture to the area. If you’d like to explore options about Landscaping Rocks: Type, Size & Color, then read our blog Landscaping Rocks to Use Around Homes: Type, Size and Color.
- Compacting the Rocks: For areas that will experience foot traffic, compacting the rocks can help stabilize them and prevent shifting. Use a hand tamper or a mechanical compactor to press the rocks firmly into place. This step is particularly important for pathways and high-traffic areas, as it ensures the rocks remain securely in place.
4) Finishing Touches
After laying the rocks, finalize the installation with these steps:
- Rake and Even Out: Once the rocks are in place, use a rake to smooth out the surface. This ensures that the rocks are evenly distributed, creating a neat and uniform appearance. Pay attention to any peaks and valleys, and adjust accordingly to achieve a flat and level surface.
- Rinse the Rocks: After raking and compacting, rinse the rocks with a hose to remove any dust and debris that may have accumulated during installation. This not only cleans the rocks but also helps them settle into place. Be careful not to overwater, as excessive water can cause the rocks to shift.
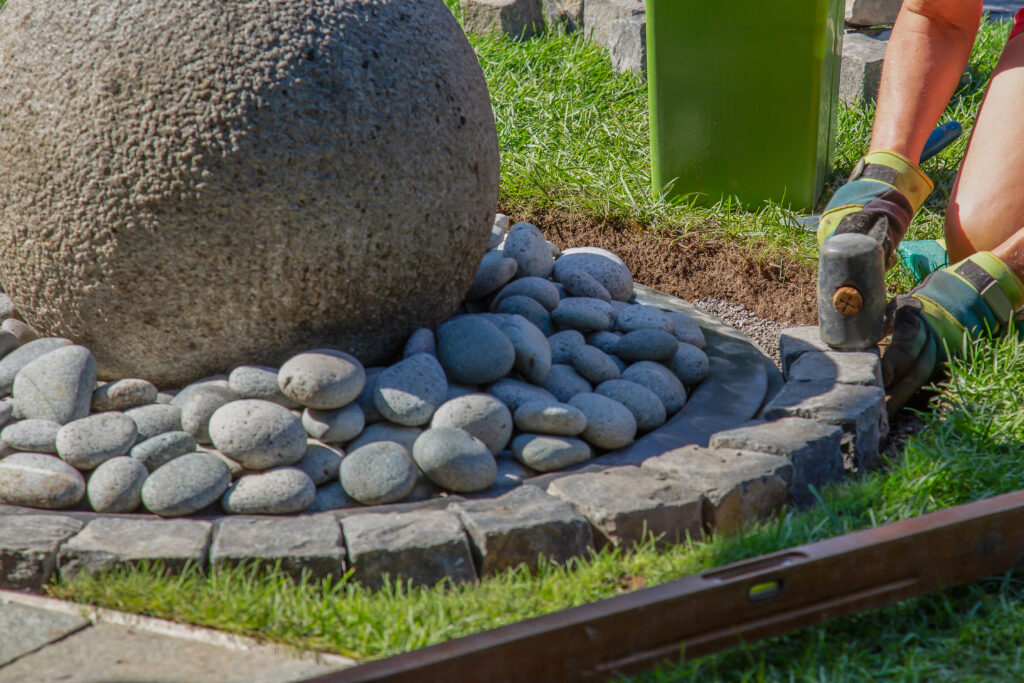
- Edging: Installing edging around the perimeter of the rock area can help to keep the rocks contained and maintain the shape of the design. Edging materials can include plastic, metal, stone, or wood, depending on your aesthetic preference. Ensure the edging is firmly secured to prevent it from shifting over time.
- Maintenance: Regular maintenance is essential to keep your landscape rocks looking their best. Periodically check for and remove any weeds that may appear. Rake the rocks occasionally to maintain an even surface and prevent displacement. For larger rocks, ensure they remain securely in place and adjust as needed.

5) Conclusion
Spreading landscape rock is a straightforward yet impactful way to enhance the beauty and functionality of your outdoor space. By following these detailed steps for preparation, ground preparation, laying the rocks, and adding finishing touches, you can achieve a professional-looking installation that complements your home. This process not only improves the aesthetic appeal of your garden or yard but also provides practical benefits such as improved drainage and reduced weed growth.
Proper planning and meticulous execution are key to ensuring that your landscape rocks remain a lasting and attractive feature of your garden. Whether you’re creating a decorative border, a pathway, or a rock garden, these guidelines will help you achieve a durable and visually pleasing result. For more detailed information and tailored advice, visit our page on Rock Installation. For support on your next rock installation project, please feel free to reach out through our contact form, and our team will be happy to help.


