


Table of Contents
What is a French Drain and How Does It Work?
A French drain is a trench filled with gravel that contains a perforated pipe. Water naturally flows into the gravel-filled trench and enters the pipe through small holes. Gravity then carries the water away from your home to a designated drainage area. It’s especially useful for:
Diverting water from saturated lawns
Preventing basement or crawlspace flooding
Reducing soil erosion
Managing runoff near driveways and patios
Tools and Materials Needed
Before you start digging, gather the following items:
Shovel or trenching tool (rental trenchers save time on longer runs)
Wheelbarrow and garden rake
Tape measure and stakes with string
Landscape fabric (water-permeable)
Perforated drain pipe (with or without sock)
¾-inch clean gravel or crushed stone
Level or laser level
Utility knife or scissors
Soil tamper (optional but helpful)
Step 1: Identify and Evaluate the Drainage Problem
Walk your property after a heavy rain and observe where water collects. The starting point of your French drain should be the wettest area, and the endpoint should lead downhill or to a safe drainage location like:
A dry well
Rain garden
Storm drain
Gravel pit or sump pump
Make sure the drainage endpoint abides by local codes—some municipalities prohibit directing stormwater into streets or neighboring lots.
Step 2: Plan Your Drain Path and Grade
Use stakes and string to outline the drain path. For gravity to work, the trench must slope at least 1%—that’s 1 inch drop per 8–10 feet of trench. Check the slope using a level, laser, or builder’s line with a line level attached.
✅ Pro Tip: Avoid tree roots or buried utility lines—always call 811 (or your local utility marking service) before you dig.
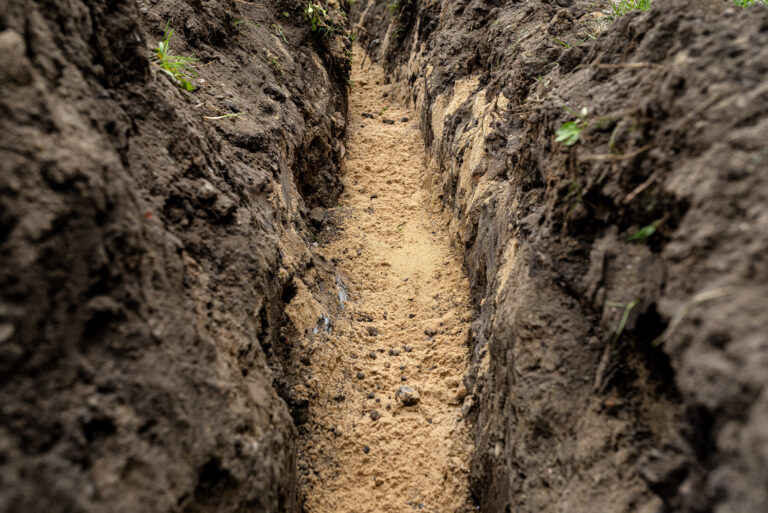
Step 3: Dig the Trench
Dig a trench about 6 to 12 inches wide and 18 to 24 inches deep, depending on the water volume you’re handling. Keep the bottom smooth and maintain a consistent slope to ensure good drainage flow.
For shorter runs or tight spaces, you may want to dig manually using a shovel or post hole digger. Not sure how to dig effectively without machinery? Check out our guide on How to Dig a Fence Post Hole by Hand for detailed digging techniques that also apply to trenching projects.
Pile the excavated soil on a tarp for easy removal or reuse later.
Step 4: Line the Trench with Landscape Fabric
Line the trench with permeable landscape fabric, allowing for several inches of overlap on each side. This keeps sediment and soil from clogging the gravel and pipe over time, greatly extending the lifespan of your drain.
If you’re using pipe with a sock (pre-filtered), this step is still recommended to reduce long-term clogging.
Step 5: Pour in the Base Layer of Gravel
Add 2–3 inches of gravel to the bottom of the trench. Use a rake or your hands to level it out. This layer supports the pipe and improves initial drainage.
Step 6: Place the Drain Pipe
Lay the perforated pipe in the center of the trench with the holes facing downward. Why? Because water enters from the bottom where saturation happens first. Ensure the pipe follows the trench’s slope and connects securely if using multiple lengths.
✅ Optional: Secure the pipe using landscape pins to prevent shifting while filling.

Step 7: Cover the Pipe with More Gravel
Step 8: Wrap the Fabric Over the Gravel
Step 9: Finish with Soil, Mulch, or Sod
Bonus: Where to Direct the Water
If you’re unsure where to redirect the collected water, here are a few options:
Dry Well: An underground basin that slowly disperses water into the surrounding soil.
Rain Garden: A shallow landscaped basin with water-loving plants.
Sump Basin with Pump: Useful if your yard is flat and water needs help moving out.