Table of Contents
Why You Might Need to Dig by Hand
Before jumping in, here are common reasons people dig by hand even in difficult soil:
Limited access: Tight spaces near foundations or fences are often inaccessible to machines.
Cost-saving: Renting excavation equipment is expensive. Manual labor cuts project costs.
Precision work: Hand digging allows for better control, ideal for landscaping or root preservation.
DIY landscaping: Homeowners often prefer the satisfaction and control of doing the work themselves.

Tools You’ll Need for Tough Soil
Invest in these essential tools to make the job easier and safer:
| Tool | Purpose |
|---|---|
| Spade Shovel | General digging and soil removal |
| Trenching Shovel | For narrow or deep holes (e.g., fence posts, drains) |
| Mattock or Pickaxe | Loosens compact clay and breaks small rocks |
| Digging Bar (San Angelo Bar) | Great for prying out roots and rocks |
| Loppers or Pruning Saw | Cutting through medium to large roots cleanly |
| Wheelbarrow or Buckets | For hauling soil, rocks, and debris |
| Gloves & Safety Glasses | Protect hands and eyes from debris |
| Water Source or Hose | Helps soften soil and reduce dust |
How to Dig Through Roots by Hand
Tree and shrub roots are common obstacles in residential digging projects. Here’s how to handle them:
Step-by-Step Root Digging:
- Start digging away from the root mass. Clear a trench or edge area first.
Identify major root pathways. Look for directional growth and spread.
Loosen the soil with a mattock or bar. This helps expose the roots without damaging surrounding soil structure.
Cut roots cleanly.
Use loppers for roots under 2” thick.
Use a hand saw or pruning saw for thicker roots to avoid damaging tools.
Remove root segments and keep digging. Repeat the process as you go deeper.
💡 Pro Tip: Avoid damaging large tree roots near trunks—they’re vital for tree health. If possible, reroute the dig.
How to Dig in Clay Soil by Hand
Clay soil is dense, heavy, and poor-draining. It becomes hard like concrete when dry and sticky when wet.
Steps for Clay Soil:
Water the area in advance. Lightly soak the digging zone the night before. Avoid overwatering.
Break surface with a mattock. Slice through the top crust and chip downward.
Shovel in layers. Don’t try to lift large compacted chunks—slice and lift thinner sections.
Improve workability. If planting, amend the dug soil with compost, coarse sand, or gypsum.
Allow time. Clay digging is slow—pace yourself and work in intervals.
🔄 Bonus Tip: Clay sticks to tools—bring a putty knife or scraper to clean your shovel regularly.
How to Dig in Rocky Soil by Hand
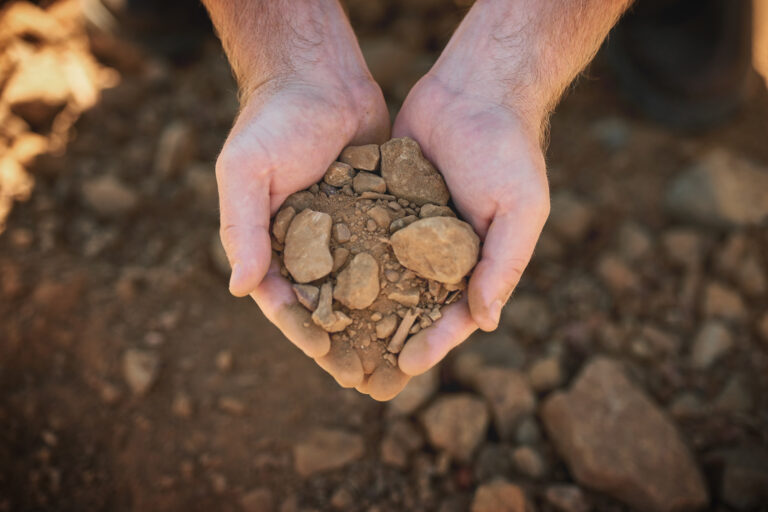
Rocky soil may contain pebbles, gravel, or even boulders. Here’s how to get through it efficiently:
Steps for Rocky Soil:
Dig until you strike rock. Use a spade to clear the topsoil.
Loosen with a digging bar. Wedge the tool under and around the rock to loosen it.
Excavate around large rocks. Create space around the rock before attempting removal.
Lift or roll out rocks. Use leverage and a tarp to haul larger stones out of the hole.
Separate soil from stones. Use a soil sifter or screen if you’re preparing planting soil.
📦 Reuse Tip: Keep larger rocks for landscaping features, edging, or drainage fill.
Techniques for Efficient Hand Digging
Dig in a spiral pattern. Start wide and work inward if digging a deep hole.
Alternate tools often. Switch between shovel and mattock to reduce fatigue.
Rest frequently. Hydrate and take breaks, especially on hot days.
Dig early or late. Avoid peak sun hours—especially in summer.
Use a tarp. Place dug-up soil on a tarp for faster cleanup.
When to Use Hand Digging Instead of Machines
Choose hand digging if:
You’re in a narrow space or near utilities
You need to preserve nearby roots or plantings
The cost of machine rental is not justified
The job is relatively small (less than 2-3 cubic yards of dirt)
⚠️ Call 811 Before You Dig: Always contact your local utility marking service before digging near your home to avoid hitting buried lines.


