Table of Contents
Building a fence is a rewarding and practical project that enhances the look and security of your property. One of the most crucial steps in building a durable and sturdy fence is ensuring that the fence posts are installed properly, which starts with digging the right holes. While many opt for power augers or mechanical equipment, you can achieve professional results by digging fence post holes by hand. This method is especially useful for small projects, locations where machinery can’t access, or when you want to take a more cost-effective approach. In this detailed guide, we’ll walk you through the entire process of how to dig a fence post hole by hand, covering everything from tools needed to expert tips for making the job easier. If you’d like to explore more about what’s better hand or mechanical digging, read our blog What’s Better: Hand Digging or Mechanical Excavation?
The Importance of Digging a Proper Fence Post Hole
Fence posts are the backbone of any fence structure. Without properly dug and installed fence posts, your fence may lean, become unstable, or collapse due to weather, soil shifting, or pressure over time. Whether you’re building a simple garden fence, a privacy barrier, or a larger perimeter fence, the stability of the posts is directly related to how well the post holes are dug. While the task may seem labor-intensive, learning how to dig post holes by hand offers benefits such as better control over the depth and placement of each hole, and it can be done with minimal equipment. Plus, if you’re working on a DIY project in a confined space or on uneven terrain, doing it by hand is often the best approach.

Tools and Materials You'll Need:
Before you begin, gather the necessary tools to ensure the process runs smoothly. Here’s what you’ll need:
- Post hole digger: A tool specifically designed for creating narrow, deep holes for fence posts.
- Shovel: Useful for removing larger amounts of soil and the initial top layer.
- Digging bar: A heavy metal bar for breaking up tough soil or rocks.
- Tape measure: To ensure accurate depth and spacing between each post hole.
- Work gloves: To protect your hands from blisters and rough surfaces.
- Water (optional): For softening hard or compacted soil to make digging easier.

Step-by-Step Process to Dig a Fence Post Hole by Hand
1. Mark Your Post Locations
- Begin by mapping out where your fence posts will go. Using stakes or spray paint, mark the ground at equal intervals where the fence posts will be positioned. Generally, posts are spaced 6 to 8 feet apart, depending on the type of fence you’re building.
2. Check for Utility Lines
- It’s crucial to check with your local utility companies before digging to ensure you won’t hit any underground cables, pipes, or wires. Many areas offer a free service to check for these, ensuring your digging process is safe and free of risks.
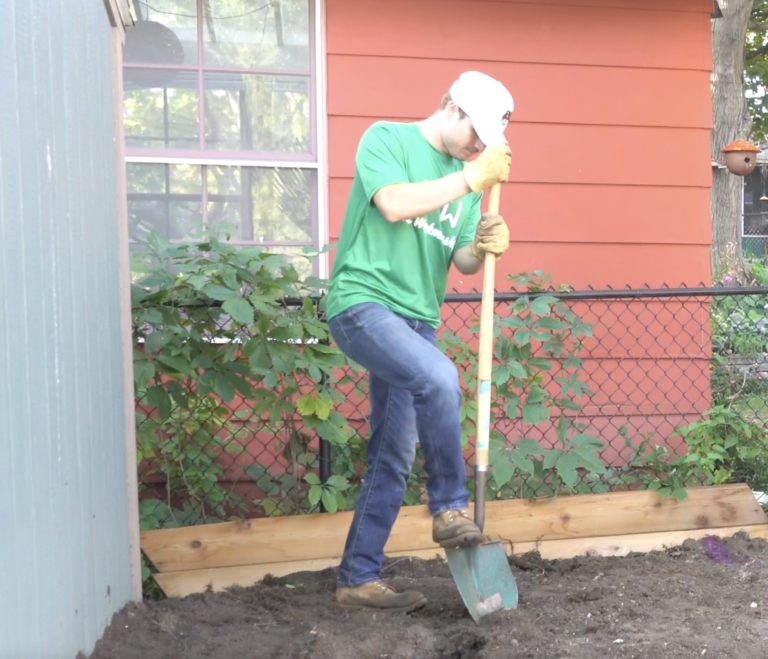
3. Start with a Shovel
- Use your shovel to remove the top layer of soil, grass, or other debris from your marked post location. Removing this top layer makes it easier to begin digging a clean, even hole with the post hole digger.
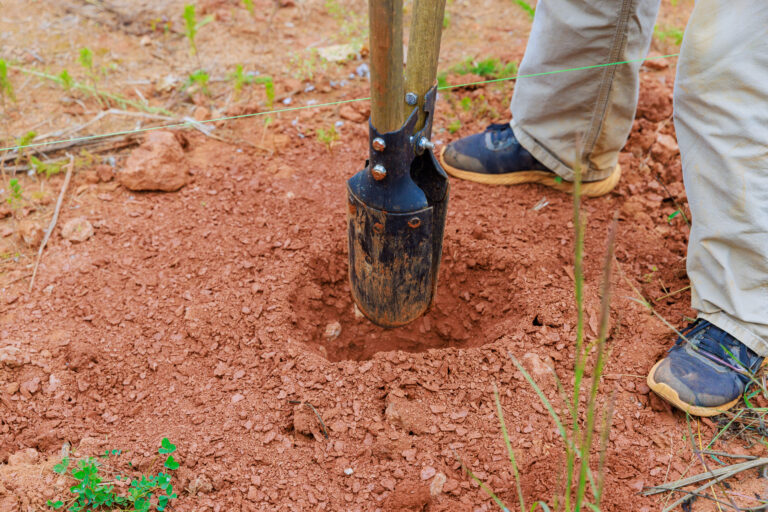
4. Use the Post Hole Digger
- Position the post hole digger at your marked location and drive it into the soil by pushing down with your body weight. Pull the handles apart to scoop up the dirt and remove it from the hole. Repeat this process, gradually deepening the hole as you go. Each time, discard the soil away from the hole to avoid refilling it accidentally.
5. Dealing with Hard Soil or Rocks
- If you hit compacted soil or rocks, switch to the digging bar. Use the pointed end of the bar to break up the tough material, and then remove the loosened dirt with the post hole digger. This may take extra effort but will help you get through stubborn soil.
6. Achieve the Correct Depth
- Continue digging until you reach the proper depth. For most fence posts, the hole should be about 2 to 3 feet deep. The depth of the hole ensures that the post will be stable in all weather conditions, especially during high winds. As a general rule, your hole should be about 1/3 the height of the post.
7. Ensure Proper Diameter
- The width of the hole should be approximately three times the diameter of the post. For example, if your post is 4 inches wide, aim for a hole that is about 12 inches in diameter. This leaves room for backfilling and securing the post with gravel or concrete, as needed.
8. Measure Consistently
- Use your tape measure periodically to ensure the hole is consistently deep and wide. Keeping your measurements consistent for each post hole is key to maintaining an even and balanced fence line.
9. Clean and Prepare the Hole
- After reaching the desired depth and width, clean out the bottom of the hole. Remove any loose dirt, rocks, or debris to ensure the fence post sits on a flat, stable surface. A well-prepared base is crucial for long-term stability.
10. Add Gravel for Drainage (Optional)
- In areas prone to wet conditions, adding 4 to 6 inches of gravel at the bottom of each hole can improve drainage. This prevents water from collecting around the wooden posts, which can cause rot or instability over time.
11. Repeat for Each Post
- Continue digging holes for the remaining fence posts, ensuring each one is equally spaced and consistent in depth. By keeping the process methodical, you’ll achieve a straight and well-supported fence.
Expert Tips for Making the Job Easier:
- Hydrate the Soil: If you’re working in particularly dry or compacted soil, try soaking the ground with water for several hours before digging. This softens the earth and makes digging easier.
- Use Your Body Weight: When using the post hole digger, let your body weight and leverage do most of the work rather than relying solely on arm strength.
- Take Breaks: Digging can be labor-intensive, especially if you’re doing multiple holes. Take breaks as needed to avoid fatigue and ensure consistent quality in your work.

Conclusion
While digging fence post holes by hand may require some physical effort, the benefits are numerous. You have greater control over the exact placement and depth of each hole, ensuring your fence will be sturdy and straight. Digging by hand also avoids the costs and complexities of renting heavy machinery, making it ideal for smaller projects or challenging terrains where machinery can’t reach. By following the steps outlined in this guide and using the right tools and techniques, you’ll be well on your way to building a fence that lasts for years to come. Whether it’s for your garden, backyard, or property boundary, a well-built fence starts with carefully dug post holes, and with a bit of patience and effort, you can achieve professional results without the need for power tools. For more detailed information and tailored advice, visit our page on digging. For support on your next hole digging and trenching labor project, please feel free to reach out through our contact form, and our team will be happy to help.


