Table of Contents

Step-by-Step Guide to Building Up Soil and Regrading Around Your Foundation
1) Assess the Current Grading
- Evaluate the Slope: Begin by evaluating the slope of the ground around your foundation. The ground should slope away from the house to direct water away from the foundation. Ideally, you want a slope of 6 inches for every 10 feet away from the foundation. To measure this, use a long carpenter’s level or a string line level. Stretch a string between two stakes, one near the foundation and one 10 feet away, and measure the drop from the string to the ground.
Document Problem Areas: As you evaluate the slope, document any areas where the slope is inadequate or where water pools during rain. Take note of these problem areas as they will need special attention during the regrading process.
2) Identify Low Spots and Drainage Issues
Water Pooling: Walk around your home and look for signs of water pooling, especially after a rainstorm. Areas where water collects are often due to low spots in the grading. These need to be built up with soil to create a proper slope away from the foundation.
Inspect Gutters and Downspouts: Ensure your gutters and downspouts are clear of debris and functioning properly. Downspouts should extend at least 6 feet away from the foundation to prevent water from seeping back toward the house. If needed, consider adding extensions or splash blocks to redirect water further away.
3) Excavate the Perimeter
- Remove Vegetation and Debris: Start by clearing the area around the foundation. Remove any grass, plants, or mulch that could obstruct your work. If there are plants you want to keep, carefully dig them up and set them aside to replant later.
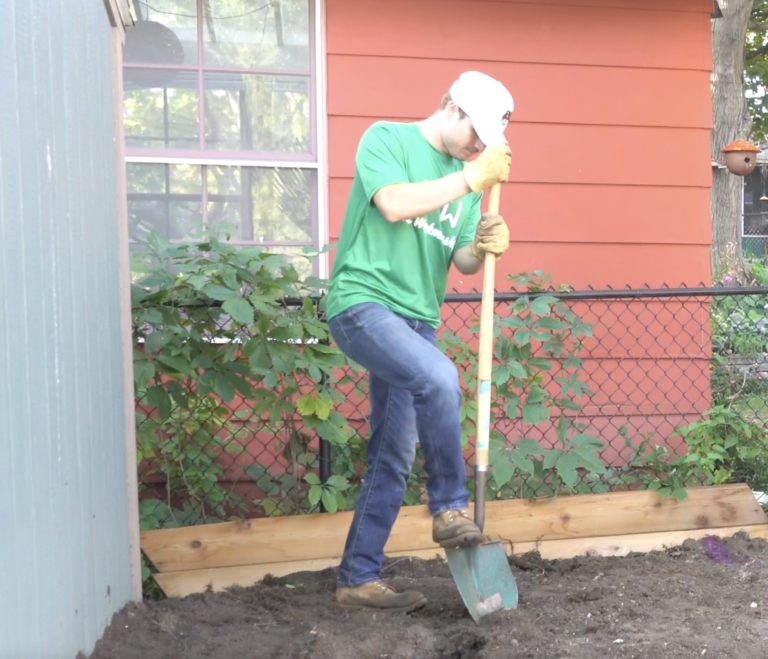
- Dig a Trench: Use a shovel to dig a trench around the foundation. This trench should extend about 2 to 3 feet out from the walls of your home and be deep enough to accommodate several inches of new soil. The purpose of this trench is to ensure that when you add new soil, it creates a slope that effectively directs water away from the foundation. If you’d like to explore more about trench digging, read our blog 7 Strategies for Trench Digging.

4) Add and Compact Soil
Choosing the Right Soil: For the best results, use clean fill dirt, which is free of organic material that can break down and cause the soil to settle unevenly over time. You may also want to mix in some topsoil on the surface layer if you plan to replant grass or other vegetation.
Layering the Soil: Begin by adding a few inches of soil to the trench, working your way around the house. As you add soil, use a tamper or plate compactor to compact it in layers. Compacting the soil is crucial because it minimizes future settling, which can undermine your efforts to maintain a proper slope.
Building the Slope: As you add and compact the soil, periodically check the slope with your level or string line. The goal is to create a consistent, gradual slope that directs water away from the foundation. Continue adding and compacting soil until you achieve the desired slope.
5) Create a Gentle Slope
Check for Consistency: After adding the soil, go back and check the entire perimeter of your home to ensure the slope is consistent and there are no low spots where water might still collect. The slope should be steep enough to direct water away, but not so steep that it causes soil erosion.
Smooth the Surface: Once the slope is correct, use a rake to smooth out the surface of the soil. This will make it easier to plant grass or other vegetation, which can help stabilize the soil and prevent erosion.
6) Install Drainage Solutions if Necessary
- French Drain: If certain areas continue to struggle with drainage, you may need to install a French drain. This involves digging a trench, laying perforated pipe surrounded by gravel, and covering it with soil. The French drain collects water and channels it away from the foundation, effectively managing runoff.
- Swale: A swale is a shallow ditch designed to redirect water. It can be used along with grading to channel water away from problem areas. To create a swale, dig a shallow, sloped trench that guides water away from the foundation to a designated drainage area.
7) Replace Landscaping and Mulch
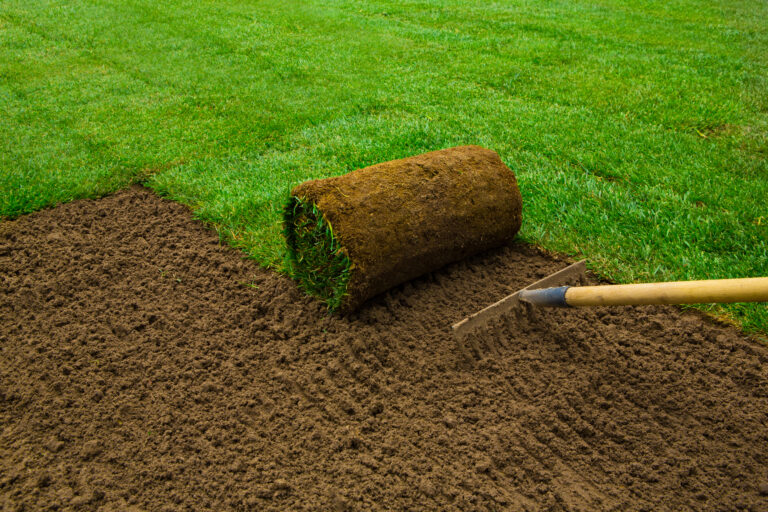
Replant Grass and Vegetation: After grading, it’s important to stabilize the soil. Replant any grass or vegetation you removed earlier. Choose plants with deep roots that can help hold the soil in place and prevent erosion.
Apply Mulch: If you’re adding mulch around the foundation, be sure to leave a gap between the mulch and the foundation wall. This gap helps prevent moisture from being trapped against the foundation, which could lead to problems over time.

8) Maintain the Grading
- Regular Inspections: Over time, the soil may settle, especially after heavy rains or during freeze-thaw cycles. Regularly inspect the grading around your foundation, especially in areas where you know water tends to pool.
- Reapply Soil as Needed: If you notice low spots developing, add more soil to maintain the proper slope. This ongoing maintenance is key to preventing water-related foundation issues.
- Gutter Maintenance: Keep your gutters and downspouts clean and in good repair to ensure they effectively direct water away from the foundation. Clogged or damaged gutters can lead to water overflow, which can compromise the soil and grading around your home.


