His Workmanship

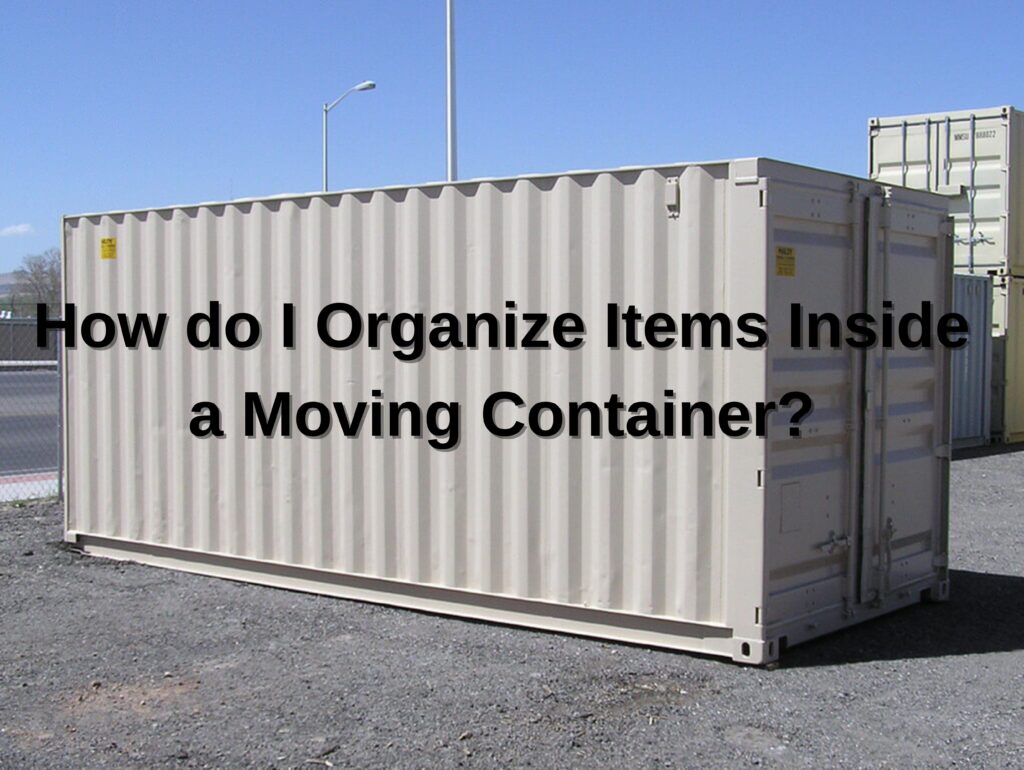
How Do I Organize Items Inside a Moving Container?

Table of Contents

Moving can be both an exciting and challenging experience. One of the most critical aspects of a successful move is efficiently organizing items in your moving container. Without a strategic approach, you risk wasting valuable space, damaging your belongings, or experiencing unnecessary stress during transit. Whether you’re moving across town or to another state, a well-organized container not only simplifies the process but also ensures that your items are secure and easy to unload. This guide offers practical tips and detailed steps to help you organize your moving container effectively, making your move smoother and less stressful.  If you’d like to learn more about how to load a moving truck, then read our blog How to Pack and Load a Moving Truck like a Pro.

The Importance of Organizing Your Moving Container
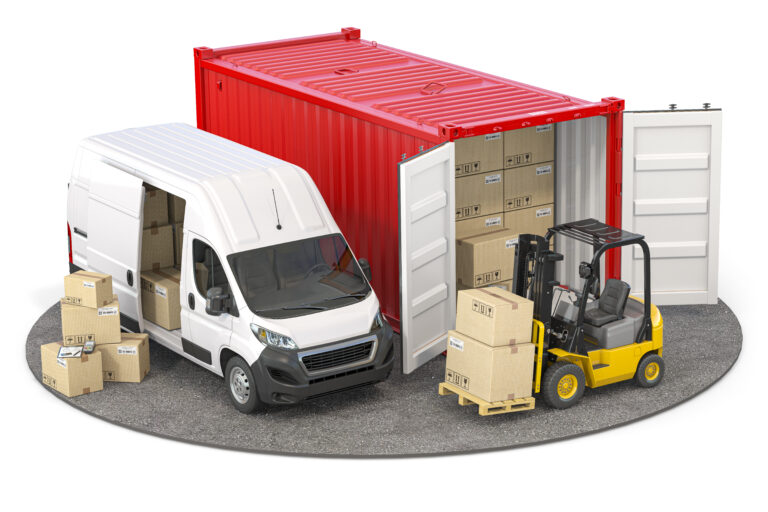
Organizing your moving container goes beyond just throwing boxes and furniture inside. A cluttered or poorly packed container can lead to broken items, wasted time during unloading, and even safety hazards. Proper organization maximizes every inch of space, ensures that fragile items are protected, and makes unpacking at your new home more straightforward. It also helps you save money by avoiding the need for additional containers or transportation trips. By taking the time to plan and pack thoughtfully, you can reduce the stress of moving and keep everything in its proper place.

Step 1: Prepare with a Plan

Before packing, spend some time planning your approach. Start by assessing the size of your container and the volume of items you need to move. Measure large furniture and bulky appliances to determine how they will fit. Create a layout plan for how items should be arranged inside the container. For example, place heavy items at the base, lighter items on top, and frequently needed items near the entrance. Taking inventory of your belongings and grouping them by category (e.g., kitchen, bedroom, fragile items) will make packing and unpacking more organized.  If you’d like to learn more about moving truck sizes, then read our blog How do I Determine the Right Size Moving Truck to Rent?

Step 2: Gather High-Quality Packing Materials

The materials you use to pack your items can significantly impact the safety of your belongings. Invest in high-quality packing supplies, including sturdy boxes, heavy-duty tape, bubble wrap, packing paper, and moving blankets. Use plastic bins for items that may be exposed to moisture during transit, such as clothing or important documents. Secure smaller items in resealable bags, and don’t forget to have markers or labels for clear identification. Having the right materials on hand ensures that your items are well-protected and easy to identify when unpacking.

Step 3: Declutter to Save Space

Before you start packing, decluttering is essential. Moving is the perfect opportunity to sort through your belongings and decide what to keep, donate, or discard. Unnecessary items only take up valuable space and add weight to your load, which can increase transportation costs. Start by going room by room and assessing each item’s value and necessity. Be honest about what you truly need in your new home. Items that are broken, outdated, or haven’t been used in years are prime candidates for removal. This step not only saves space but also makes your new home less cluttered. One way to declutter is by having a garage sale. Read here to learn more: 8 Easy Tips to Organize your First Garage Sale.

Step 4: Load Large and Heavy Items First

When it’s time to load your container, always begin with the largest and heaviest items. These include furniture, appliances, and heavy boxes. Place these items at the back of the container and along the walls to create a stable foundation. Position items such as sofas, tables, and dressers vertically when possible to save space. Wrap furniture in moving blankets to protect against scratches and secure them with straps to prevent shifting. By starting with heavier items, you create a base that keeps the rest of your belongings stable during transit.

Step 5: Protect Fragile Items with Care

Fragile items like glassware, mirrors, and electronics require extra attention. Wrap each item individually in bubble wrap or packing paper to prevent damage. Use boxes designed for fragile items, such as dish boxes with dividers. Place fragile items in the middle of your container, surrounded by sturdier items to cushion them from potential impacts. For extra protection, fill empty spaces in the boxes with soft materials like towels, clothing, or foam peanuts. Clearly label these boxes as “FRAGILE” so that they are handled with care during loading and unloading.

Step 6: Stack Boxes Efficiently

Stacking boxes is a critical part of maximizing space in a moving container. Place the heaviest boxes on the bottom layer and lighter boxes on top to maintain stability. Arrange boxes of similar sizes together to create even stacks. Avoid overpacking boxes, as this can cause them to collapse during transit. For added security, use bungee cords or straps to hold the stacks in place. Consider creating aisles or pathways in the container if you need access to specific items before unloading completely.

Step 7: Utilize Odd Spaces and Gaps

Every inch of space in your moving container is valuable, so don’t let gaps go to waste. Use smaller boxes, cushions, or soft items like bedding to fill gaps between larger items. Oddly shaped objects, such as bicycles or lamps, can often fit into tight corners or spaces on top of furniture. This not only ensures that every bit of space is used but also helps stabilize the load by minimizing movement during transit. Strategic placement of these items can make a big difference in overall packing efficiency.

Step 8: Keep Essentials Accessible

When packing, think ahead to what you’ll need immediately upon arrival at your new home. Pack these essentials separately in a clearly labeled box and place it near the container’s entrance. Items to include might be cleaning supplies, toiletries, tools, and a change of clothes. Having these items easily accessible saves you from digging through the container and ensures a smoother transition when you arrive at your destination.

Step 9: Secure the Entire Load

Once everything is packed, inspect the container to ensure all items are secure. Use bungee cords, ropes, or straps to hold furniture and boxes in place. Test the stability by gently shaking stacks to ensure nothing shifts. A secure load reduces the risk of damage and makes unloading safer and more manageable. If there are empty spaces at the top of the container, fill them with lightweight items like pillows or blankets to prevent shifting during transit.

Conclusion

Packing and organizing a moving container requires patience, planning, and attention to detail, but the effort pays off in the end. By preparing properly, decluttering, and using efficient packing techniques, you can maximize space and protect your belongings during the move. A well-organized container not only saves time and money but also reduces the stress of relocating. Whether you’re moving across the street or across the country, taking the time to pack thoughtfully will make your transition smoother and more enjoyable. With these tips, you’ll arrive at your new home ready to settle in with ease. For more detailed information and tailored advice, visit our page on loading trucks. For support on your next loading project, please feel free to reach out through our contact form, and our team will be happy to help.