


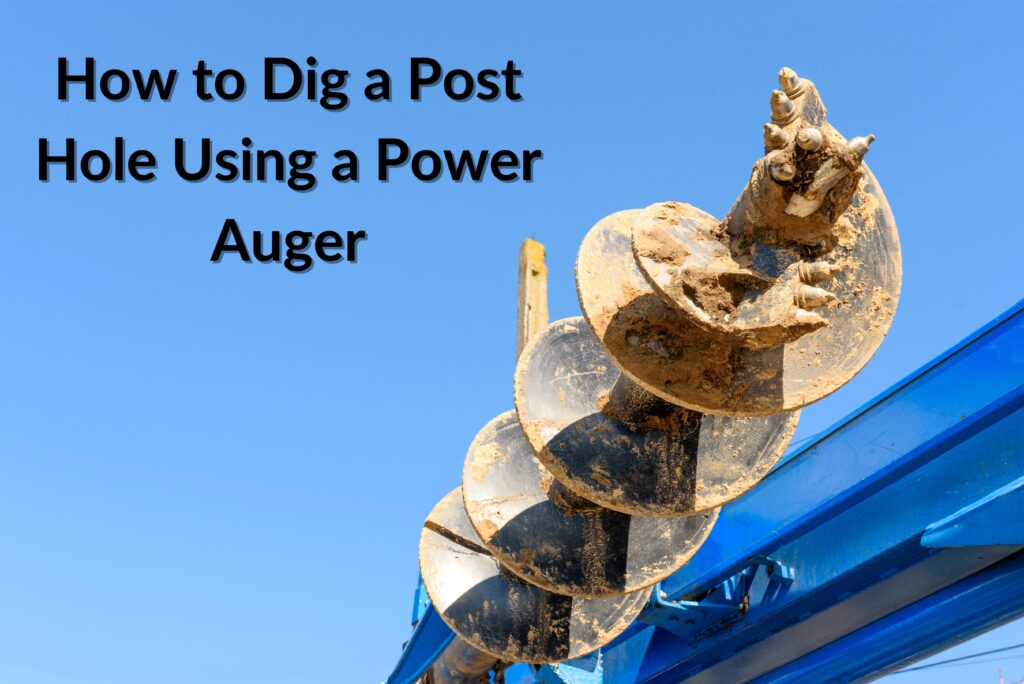
Table of Contents
1. Preparation and Safety First
Before you begin, taking the right preparatory steps ensures a smooth and safe project:
Mark the Post Hole Locations: Start by identifying and marking the exact spots where you’ll be digging. Use stakes or spray paint to ensure the locations are accurate and consistent. Spacing between post holes depends on the nature of your project. For example, standard fence posts are usually spaced about 6 to 8 feet apart, while deck footings may require different spacing.
Check for Underground Utilities: One of the most critical steps in the preparation process is ensuring the area is clear of any underground utilities. Hitting a gas, water, or electrical line can be dangerous and costly. Contact your local utility companies before you start digging to have them mark any buried lines in your yard.
Assess Soil and Ground Conditions: If the ground is particularly hard or rocky, it may take additional effort to dig the holes. Sometimes pre-soaking the area with water can soften the soil, making it easier for the auger to penetrate. You may also need to use a pry bar or manual post-hole digger to loosen rocks or roots that the auger may not be able to cut through. If you’d like to explore more about How to dig a fence post hole by hand, read our blog How to Dig a Fence Post Hole by Hand.
Select the Right Auger Bit Size: Power augers come with interchangeable bits, typically ranging from 4 inches to 12 inches in diameter. The bit size you choose depends on the diameter of the post or footing you need to install. For example, a 4-6 inch bit is suitable for smaller fence posts, while larger deck posts may require an 8-12 inch bit. Choose a bit that allows for some extra room around the post for stabilization material like gravel or concrete.
Safety Gear: Operating a power auger involves handling a heavy, powerful machine, so personal safety is essential. Wear safety goggles to protect your eyes from flying dirt or debris, gloves for grip and hand protection, sturdy boots with good traction, and hearing protection if the auger is loud (especially gas-powered ones). You may also want to wear a long-sleeved shirt and long pants to protect your skin from flying debris.
2. Setting Up and Positioning the Power Auger
Once your safety precautions are in place and your work area is prepared, it’s time to set up the power auger:
Check the Auger’s Power Source: Power augers can be gas-powered or electric. For gas-powered augers, ensure that the fuel tank is filled with the appropriate fuel mixture (usually a blend of gas and oil) according to the manufacturer’s instructions. For electric augers, check that the battery is fully charged or that you have access to a power outlet and an extension cord if needed.
Inspect the Auger for Damage: Before operation, inspect the auger for any signs of damage, including cracks or wear on the auger bit, loose parts, or any leaks in the fuel system. Tighten any loose screws or bolts.
Position the Auger Over the Marked Hole: Once the auger is set up, position the bit directly over the marked spot for your post hole. The auger should be held in a straight, vertical position to ensure the hole is drilled straight down. If the auger is angled, the post may not sit properly in the hole, leading to instability later.
Two-Person vs. Single-Person Augers: For larger projects or when digging through tougher soil, you may want to use a two-person auger. This type of auger requires two people to operate, one on each side of the machine, which provides better control and more torque. Single-person augers are suitable for smaller projects or softer soil and are easier to handle.
3. Starting the Auger and Drilling the Hole
Now it’s time to start the auger and begin drilling the hole:
Start the Engine: For gas-powered augers, follow the manufacturer’s instructions to start the engine, usually involving a choke and pull-start mechanism. For electric augers, plug in the cord or activate the battery, and engage the motor.
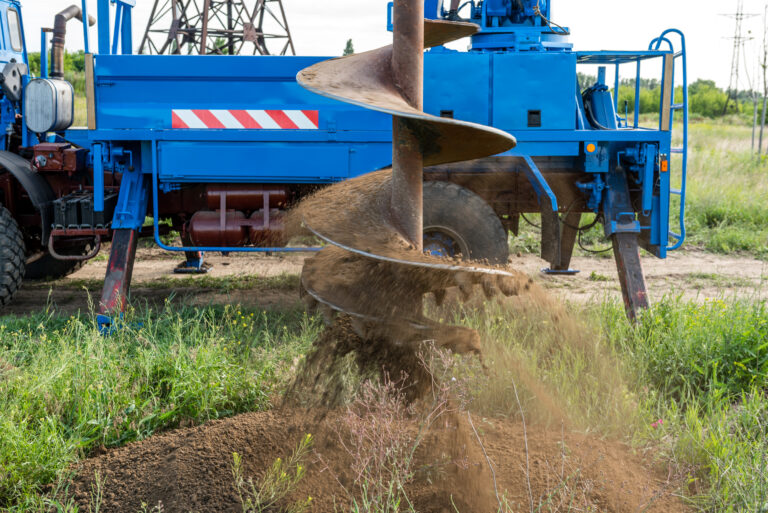
Guide the Auger Bit into the Ground: Slowly lower the auger bit into the ground while holding the handles firmly. As the auger blade begins to spin and dig into the earth, guide the machine down carefully. Avoid pressing down too hard; let the auger’s weight and spinning action do most of the work. Pushing too hard can cause the auger to get stuck or damage the motor.
Handling Obstacles: If the auger hits a rock, tree root, or another obstacle, stop the machine immediately. You may need to manually remove the obstruction with a pry bar or shovel before continuing. If you push too hard against an obstacle, it can cause the auger to twist suddenly, leading to loss of control or damage to the machine.
Periodic Lifting to Clear Dirt: As the auger digs deeper into the ground, dirt will accumulate around the bit. Periodically stop the auger and lift it out of the hole to remove the dirt. Doing this ensures the auger continues to dig efficiently without clogging. Some augers come with reverse settings, which can be helpful for loosening the dirt and pulling the bit out.
4. Finalizing the Hole
Once you’ve reached the desired depth for your post hole, it’s time to finalize the hole:
Check the Hole Depth and Width: Most fence posts and structural footings require holes that are about 24-36 inches deep, but the depth may vary depending on local building codes and the project type. Ensure the hole is deep enough to accommodate the height of the post or structure, as well as below the frost line in colder climates to prevent frost heave.
Clean Out Loose Dirt: Use a post-hole digger or shovel to remove any loose dirt from the bottom of the hole. This helps to ensure a clean and stable base for your post.
Compact the Bottom of the Hole: For added stability, compact the soil at the bottom of the hole using a tamper or the flat end of a shovel. A firm base will provide better support for your post, particularly if you are not using concrete.

5. Installing the Post
With the hole complete, you can move on to installing the post:
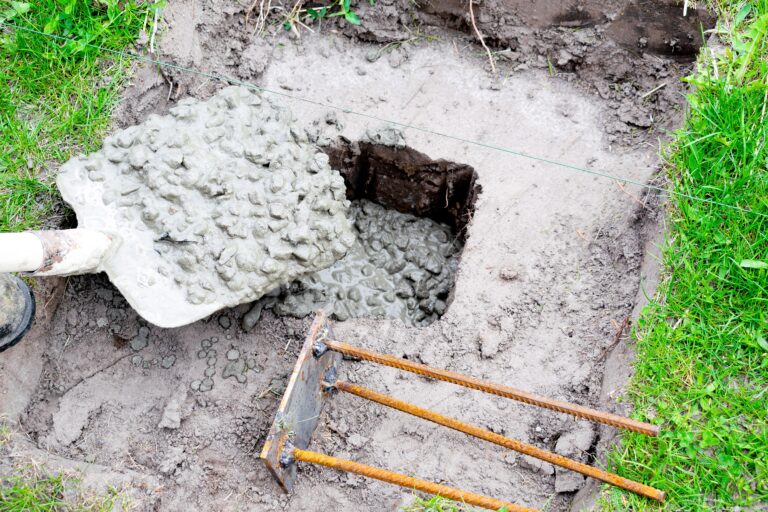
Place the Post in the Hole: Carefully lower the post into the center of the hole. Make sure the post is perfectly vertical using a post level or a regular level. This step is crucial to ensure your fence or structure is straight and even.
Fill the Hole: Once the post is in place, you can fill the hole with stabilizing material. Depending on your project, you can use tamped gravel, concrete, or soil to backfill the hole. Concrete provides the most solid support for long-term durability, especially for fence posts or deck footings. If using concrete, fill the hole around the post and allow it to set for 24-48 hours before applying any additional weight or building.
6. Cleaning and Storing the Power Auger
After you’ve completed your holes and installed the posts, take care of the auger to ensure it remains in good working condition for future use:
Clean the Auger Bit: Remove any excess dirt or debris from the auger bit using a brush or rag. If left on the bit, dirt can lead to rust and reduce the auger’s performance over time.
Drain Fuel and Store: For gas-powered augers, always drain any leftover fuel to prevent engine problems during storage. Store the auger in a dry, secure place to prevent rust or damage to the motor and moving parts.