His Workmanship

How to Install Black Plastic Edging

Table of Contents

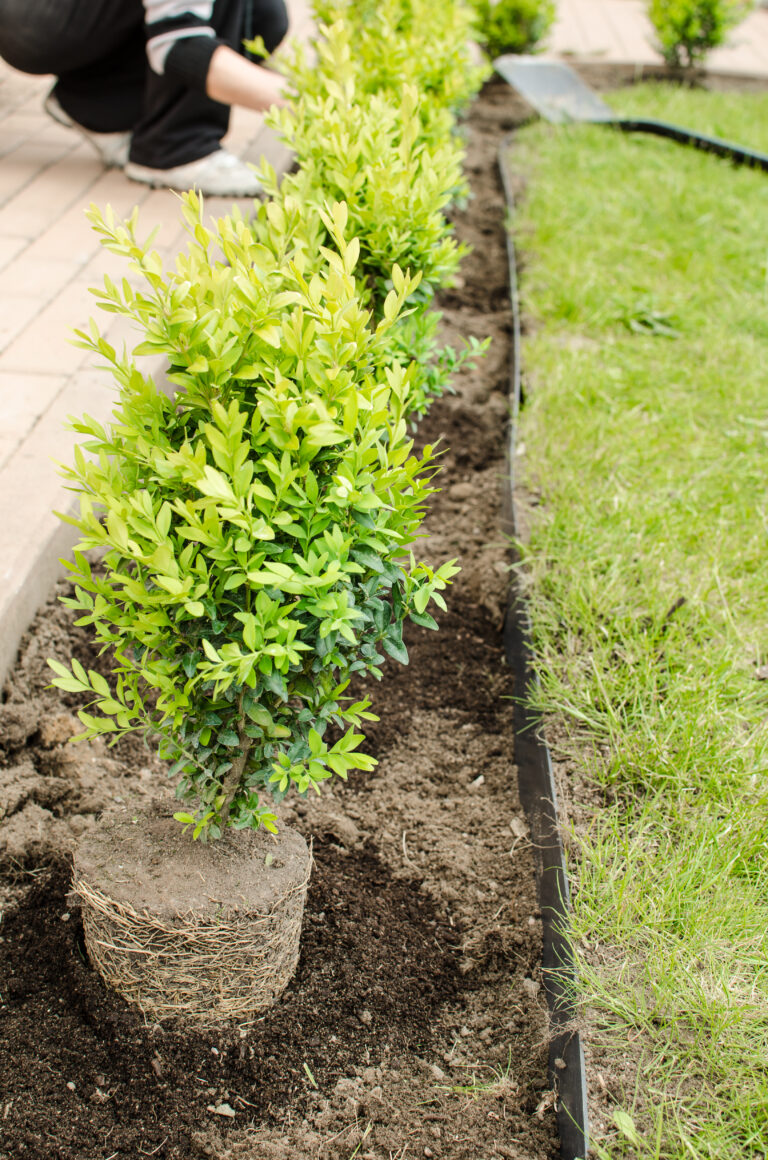
Black plastic edging is an essential tool for maintaining the structure and beauty of your outdoor spaces. It serves as a physical barrier between different landscaping elements such as flowerbeds, grass, and walkways. By keeping mulch, soil, and gravel neatly contained, edging helps to prevent weeds from spreading and stops grass from creeping into flowerbeds, providing a clean, organized appearance to your yard. Beyond aesthetics, it also reduces maintenance time, making it a valuable addition to your landscape design.

Whether you’re installing new edging or replacing old borders, black plastic edging is an affordable, flexible, and durable choice. It can curve easily around garden beds or provide straight lines along walkways and driveways. Installing it yourself is a manageable task that can be completed with a few basic tools. Below, we’ll guide you through 11 detailed steps that will help you install black plastic edging like a pro, even if you’ve never tackled a landscaping project before. If you’d like to explore more about which edging is best?, read our blog Plastic vs. Pavers vs. Concrete vs. Natural: Which Edging is Best?

How to Install Black Plastic Edging: 11 Detailed Steps

Step 1: Plan the Layout

Start by carefully deciding where you want to install the black plastic edging. This is the most critical step, as the overall look and functionality of the edging depend on a well-thought-out layout. Walk around your yard or garden and decide whether you want to use the edging to create sharp angles, flowing curves, or straight lines. For curved edges, a garden hose works perfectly as a guide because it’s flexible and allows you to easily visualize the shape of the edging. For straight edges, use stakes and string to map out clean, straight lines. Don’t rush this step—taking the time to plan the layout ensures that you’ll get the look you want and minimize the need for adjustments later.

Step 2: Gather Your Tools and Materials

Having the right tools on hand will make the installation process smoother and quicker. Along with the black plastic edging itself, you will need:

  • Black plastic edging: Usually sold in rolls, so measure your garden area to determine how much you need.
  • Stakes: Often included with the edging, but you can buy additional ones for extra stability.
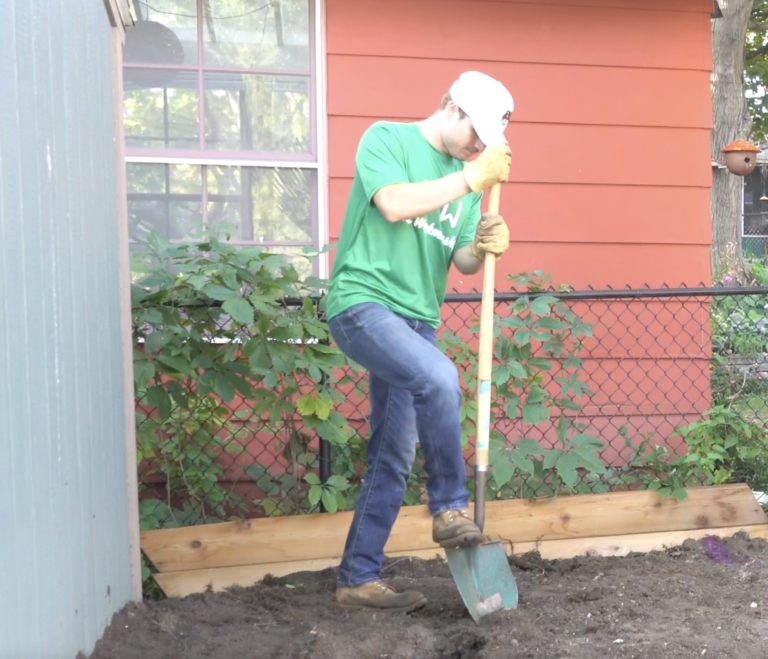
  • Spade or flat shovel: For digging a trench along the border.
  • Utility knife: For trimming excess edging material.
  • Hammer or rubber mallet: To drive stakes into the ground.
  • Measuring tape: To ensure accurate placement and consistent trench depth.
  • Gloves and safety gear: Optional but recommended for protection while handling tools and materials. Having everything ready ahead of time reduces interruptions and ensures you can move from one step to the next without delays.

Step 3: Mark the Edging Line

Once the layout is finalized, it’s time to mark the exact location where you’ll dig the trench for the edging. If you’re working on a straight edge, a string line is the most effective tool for marking the path. For curved areas, you can use spray paint, chalk, or simply dig a shallow groove with a trowel to create a visible guide for digging. This marking is important because it ensures that the edging follows the shape you’ve planned, and helps maintain a consistent line when you begin digging.

Step 4: Dig a Trench

Using your spade or shovel, dig a trench along the marked line. The trench should be approximately 4-6 inches deep and about as wide as the edging itself (usually 2-4 inches wide). If you are using taller edging, you may need to adjust the depth to ensure that the top edge sits just above the ground. This depth allows the edging to create a firm barrier without appearing too prominent. As you dig, place the soil to one side of the trench, as you’ll need it later to backfill around the edging. Keep the trench as even as possible, and if your garden bed includes curves, follow the contours carefully.

Step 5: Insert the Edging

Once the trench is dug, place the black plastic edging into it. If the edging is rolled, unroll it and allow it to lie flat for a few minutes to make installation easier. Position the edging so that the top edge sits slightly above the soil line, typically about ½ to 1 inch. This visible edge will create the clean separation between garden bed and lawn or pathway, while the buried portion stabilizes the edging. As you lay the edging, ensure it’s placed straight along straight edges and smoothly follows any curves you’ve planned.

Step 6: Secure the Edging with Stakes

Securing the edging properly is key to ensuring it doesn’t shift over time. Use stakes to anchor the edging firmly in place. Most black plastic edging has pre-cut slots or holes for stakes, which makes this step straightforward. Drive the stakes into the ground using a hammer or rubber mallet, placing them at regular intervals (about every 2-3 feet) along the edging. Around curves, it’s important to place stakes more frequently, every 1-2 feet, to help the edging maintain its shape and prevent buckling. Ensure the stakes are driven deep enough to be flush with the ground, so they don’t interfere with mowing or foot traffic.

Step 7: Trim Excess Edging

If the roll of edging is longer than needed, you’ll need to trim the excess material. Use a utility knife with a sharp blade to cut through the plastic. Measure carefully before cutting, and if the edging is part of a curved section, cut at an angle to match the curve as closely as possible. For a clean, professional look, make sure the cut is straight, especially at the end of straight sections, to prevent unsightly gaps or overlaps.

Step 8: Connect Multiple Pieces (If Needed)

For longer garden beds or lawn edges, you may need to connect more than one piece of edging. Most black plastic edging kits include connector pieces or allow for overlapping connections. When joining two sections of edging, ensure the connection is secure and tight to prevent gaps where soil, mulch, or grass could slip through. Depending on the type of edging you have, you may need to use connector clips, extra stakes, or adhesive to join the sections securely. Check the manufacturer’s instructions for the best method to connect your specific type of edging.

Step 9: Backfill the Trench

After the edging is in place and secure, it’s time to backfill the trench. Begin by using the soil you set aside earlier to fill the space around the edging. As you backfill, press the soil down firmly against both sides of the edging to stabilize it further. It’s important to pack the soil tightly, especially if you plan to add mulch, gravel, or other ground cover on one side of the edging. This step is crucial for preventing the edging from moving or shifting due to water, wind, or lawn care activities.

Step 10: Smooth and Level the Ground

Once the trench is filled, smooth the soil on both sides of the edging using a rake or your hands. Check to make sure the edging is standing straight, with no leaning or warping. This is your chance to make final adjustments to ensure the edging looks uniform and professional. For curved areas, make sure the curves are smooth and consistent, and for straight sections, use your string line or measuring tape to confirm that the edging is perfectly aligned.

Step 11: Final Touches

Finally, take a step back and review your work. Walk along the edging to check for any uneven areas or sections that may need slight adjustments. If necessary, reposition stakes or add more soil to ensure everything is secure. Lightly water the soil around the edging to help it settle. If you’re using the edging to separate mulch from the lawn, you can now spread mulch up to the edge for a polished look. If it’s separating gravel or another material, spread it up to the edging to complete the project. Depending on your landscaping, you can also add decorative rocks or plants near the edging to further enhance the overall appearance of your garden or lawn.

Conclusion

Installing black plastic edging is a simple yet transformative landscaping task that provides both aesthetic and functional benefits. By following these 11 steps, you can give your garden beds, lawns, and pathways clean, well-defined borders that enhance the beauty of your outdoor space while making maintenance easier. Properly installed edging keeps mulch, gravel, and soil contained, prevents the spread of grass into your garden beds, and reduces the need for constant trimming and upkeep.
Though it may seem like a modest addition, edging plays a crucial role in maintaining the order and structure of your landscape design. With the right tools and careful planning, you can achieve a professional-looking result that will last for years. Whether you’re a seasoned gardener or a beginner, this project is manageable and rewarding, offering a low-cost solution to improve the appearance and organization of your outdoor space. Once installed, your black plastic edging will not only provide a clear visual distinction between different areas of your yard but also help reduce the effort needed to keep everything looking neat and tidy. For more detailed information and tailored advice, visit our page on edging. For support on your next edging installation services project, please feel free to reach out through our contact form, and our team will be happy to help.